Have you ever been in a sauna and felt the warm air, only to find it wasn’t hot enough? It’s a bummer, right? That is no secret to a perfect, toasty sauna experience, and it does not only depend on the heater but also on the sauna insulation. Imagine it as the sauna winter coat. Without proper insulation, all that great heat escapes through the floor, leaving you chilled and resulting in an unexpectedly high power bill.
The most important thing when constructing the sauna that gets hot fast and retains the heat effectively is to insulate it. The invisible hero makes every session as cozy and wonderful as you think it can be. You will learn the best sauna insulation and why you shouldn’t skimp on this investment. We’ll show you how to insulate your sauna to keep it warm and cool.
Why Is Sauna Insulation So Important?
So what is all the noise about insulation? Suppose that one tries to fill a bucket with a hole in it. You may pour as much water as you want; it will never fill up. The same applies to insulating a sauna. The heat created by your heater goes out the walls and the ceiling without proper insulation. This forces your heater to work harder to maintain the temperature, resulting in significant energy waste and increased costs.
The basic functions of excellent sauna insulation include:
- Retains the Heat: It provides a barrier that will keep the heat enclosed, which means that your sauna will be ready more quickly.
- Saves You Money: Since your heater will not be forced to work much, you will need less electricity or wood. It is a long-term investment that will pay for itself.
- Protects The Build of Your Sauna: Insulation helps control the moisture and not trap it inside your walls, which may result in the development of mold or rot. This is particularly important for insulated outdoor saunas.
- Keeps the Temperature the same: No longer hot and cold spots. Adequate insulation will give a consistent and even distribution of heat and therefore a more comfortable experience.
Finding the Best Insulation for Your Sauna
Insulation is different, especially in a sauna’s hot, humid environment. You cannot use just any insulation; it must be able to withstand high temperatures without melting or releasing harmful chemicals. We can see the best insulation contenders for a sauna.
1. Foil-Faced Polyiso Rigid Foam Board.
This is considered the gold standard for sauna insulation. Polyisocyanurate (Polyiso, also known as Polyiso) is a strong foam board that is covered by a foil covering on the front or both sides. This coating is a shining foil that reflects heat back to the sauna. It is as though you have an emergency space blanket on your walls.
- High R-Value: It provides a high R-value/inch (approximately R-6.5); that is, it is a powerful insulator but not extremely thick.
- Inbuilt Vapor Barrier: The foil facing is also a vapor barrier, which is necessary to check moisture.
- Quick to Assemble: The rigid boards weigh very little and can be made effortlessly to fit in between the studs of your sauna walls.
2. Mineral Wool (Rockwool)
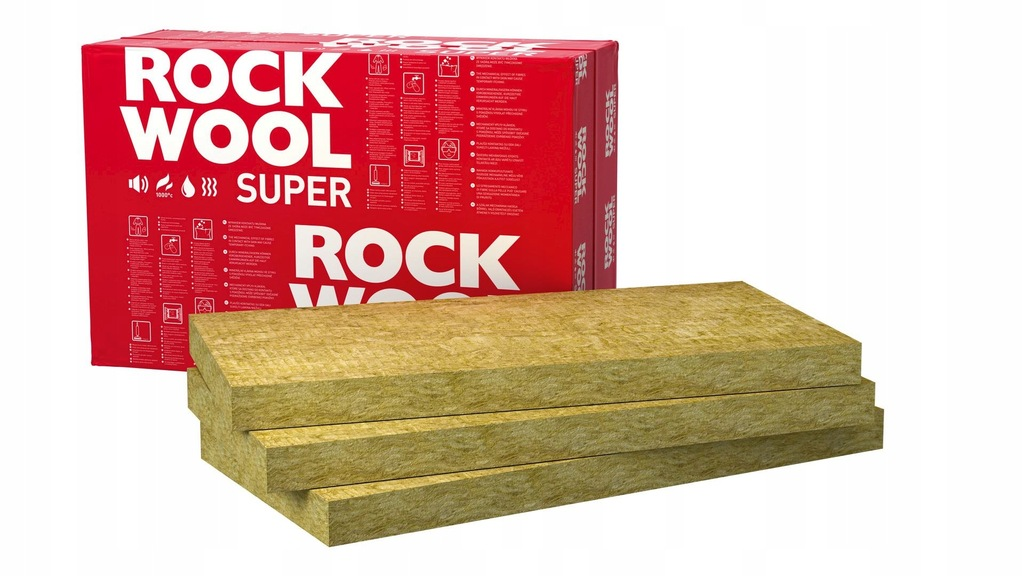
Another excellent alternative is mineral wool. It is composed of swiveling rock fibers that give it the ability to resist fire naturally and be able to handle high temperatures. It does not get low or degenerate with time, a major issue with other insulations.
- Heat and Fire Resistant: It can be used safely in saunas with temperatures that are far above 1,000 o C (538 C) in temperature.
- Moisture Resistant: Mineral wool does not absorb water and it prevents the growth of mold and mildew.
- Sound Dampening: Additionally, it dampens sound in your sauna, enhancing the relaxing atmosphere.
3. Fiberglass Insulation for Saunas
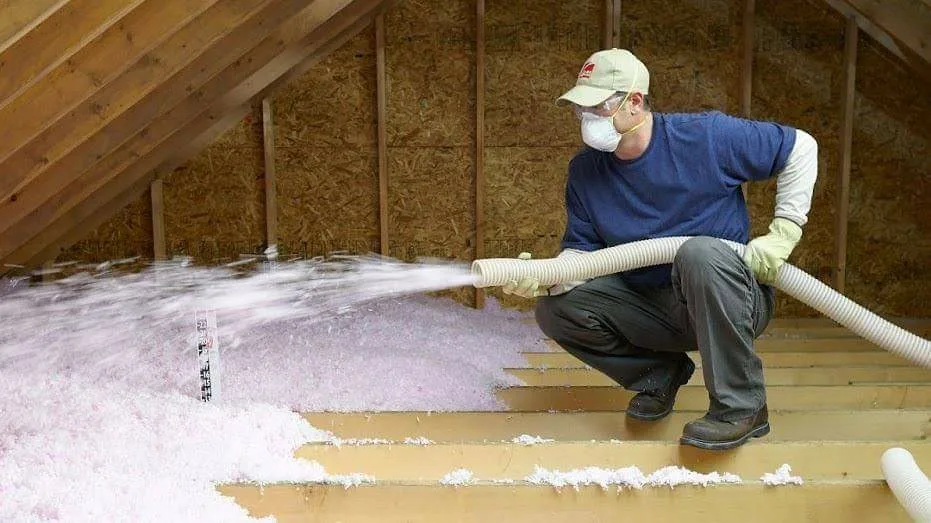
You might be wondering about standard fiberglass insulation for your sauna. While it’s a common and affordable option for home insulation, it’s not the best choice for saunas. Standard fiberglass batts often have a kraft paper backing that is flammable and can’t handle the high heat.
If you must use fiberglass, you must choose an unfaced version, meaning it has no paper backing. You will also need to install a separate, high-quality vapor barrier over it. However, given the superior performance and safety of Polyiso and mineral wool, fiberglass is usually considered a less desirable option.
How to Insulate a Sauna: A Step-by-Step Guide
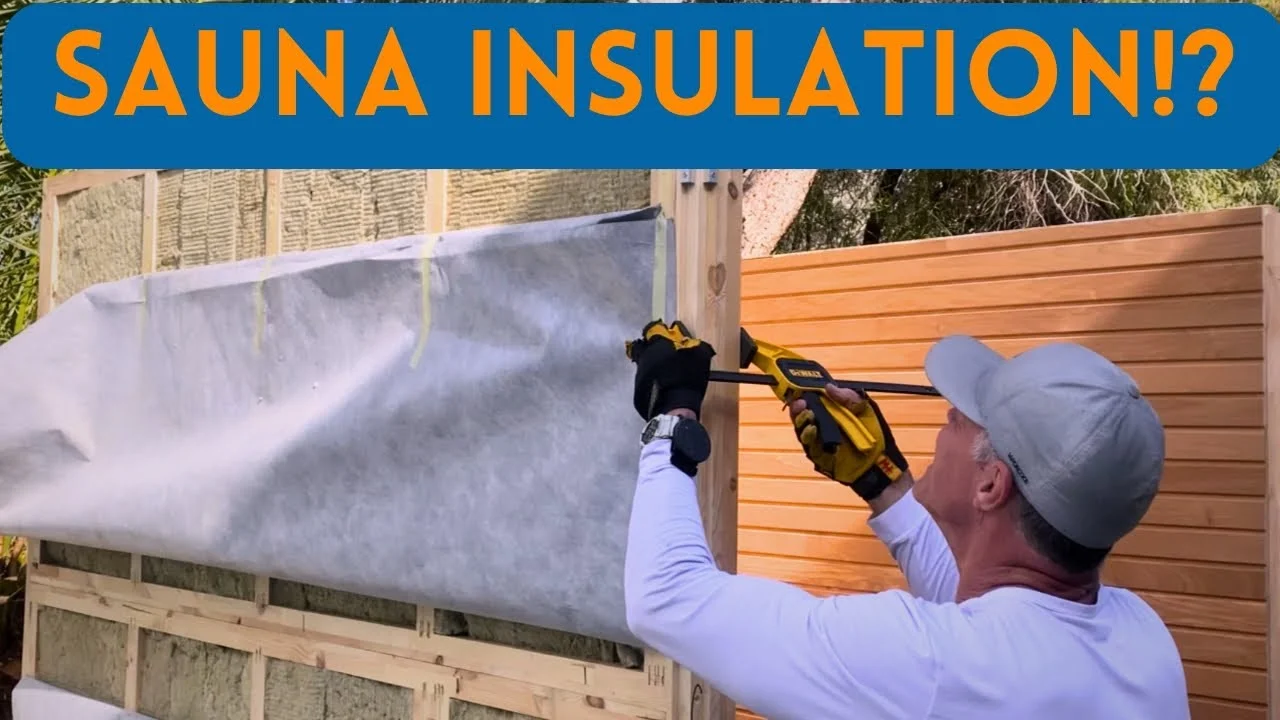
Are you prepared to take on the project? Insulating a sauna is a straightforward process, but it requires attention to detail. Here’s a simple breakdown of the steps for insulating sauna walls and ceilings.
Step 1: Frame Your Walls and Ceiling
Before you can insulate, you need a structure to put the insulation in. Your sauna should be framed with standard wood studs (like 2x4s), creating cavities that you will fill with insulation.
Step 2: Install the Insulation
Cut your chosen insulation material, whether it’s Polyiso rigid foam or mineral wool batts, to fit snugly between the studs. There should be no gaps. If you’re using Polyiso boards, you can seal the seams with high-temperature foil tape to create a continuous barrier. For mineral wool, just press it into the cavities.
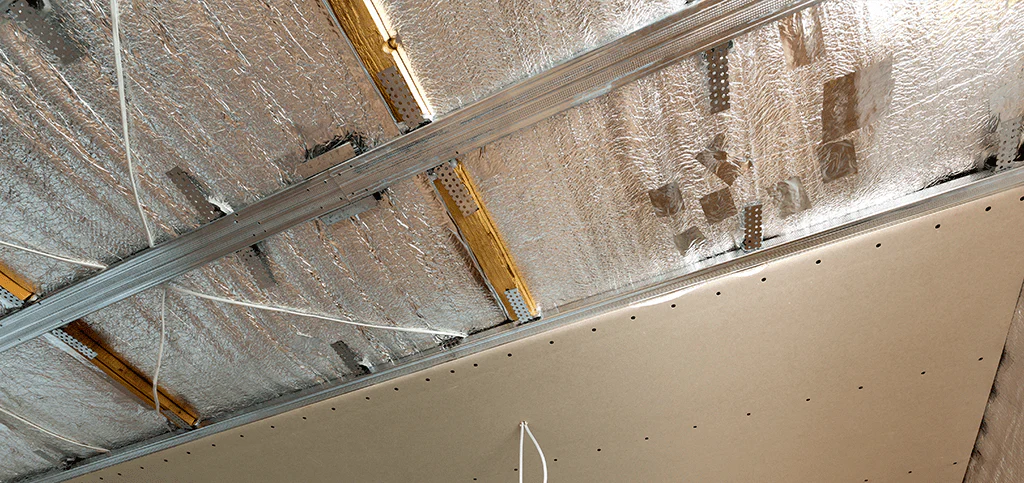
Step 3: Add a Vapor Barrier
This is a step you absolutely cannot skip! A vapor barrier prevents moisture from getting into your insulation and the wooden frame of your sauna. It keeps the steam inside the sauna room where it belongs.
- If you used foil-faced Polyiso, you’re in luck; the foil is your vapor barrier. Just make sure to tape all the seams with foil tape.
- If you used mineral wool or unfaced fiberglass, you need to install a separate vapor barrier. A heavy-duty aluminum foil designed for saunas is the best choice. Staple it over the insulation and studs, overlapping the seams by several inches and taping them with foil tape.
Step 4: Create an Air Gap
An advantage is to provide a little air space between the vapor barrier and your interior wood paneling (such as cedar or pine) of, say, 1 inch. This can be done by nailing on a so-called furring strip of thin wood to the studs, directly over the vapor barrier. This air passage allows the wood to breathe and dry, which prolongs its life and prevents moisture problems.
Step 5: Install Your Interior Paneling
Now you’re ready to install the beautiful interior wood paneling that gives your sauna its classic look and feel. Nail the paneling to the furring strips, and you’re one step closer to your first sweat session!
What About How to Insulate a Barrel Sauna?

Insulating a barrel sauna is a bit different because of its unique shape. Barrel saunas are traditionally made from thick staves of wood (often 1.5 inches or thicker) that are meant to provide natural insulation. For many climates, this thickness is enough.
However, if you live in a frigid region, you might find your barrel sauna struggles to stay hot in the winter. You can add insulation to the outside by building a secondary roof or covering over the top half of the barrel. You would then place insulation between this cover and the sauna itself. It’s a more complex project, but it can make a big difference for your insulated outdoor sauna.
Frequently Asked Questions (FAQs)
What is the best R-value of a sauna?
Aim for a minimum of R-12 on walls and R-16 on ceilings.
Would it be possible to apply spray foam insulation to a sauna?
No, the majority of spray foams are not approved for the extreme temperatures that are present in a sauna and can emit off poisonous fumes.
Should I insulate my floor in my sauna?
Floor insulation can improve sauna efficiency, especially with concrete slabs, but it’s less important than walls and ceilings.
Would it be possible to insulate an infrared sauna?
The pre-built infrared sauna is already insulated; however, when making one custom, you should not hesitate to insulate it as you do a normal sauna.